CONFUSED BY ELECTRIC FENCING?
ELECTRIC FENCING SEEMS COMPLICATED TO MOST PEOPLE—SO MANY DIFFERENT FENCE CHARGERS, INSULATORS & WIRES TO CHOOSE FROM.
At DARE PRODUCTS we have been making quality electric fencing products since 1946. We hope this information will help you build an effective electric fence that will accomplish your purpose.
Keep in mind that electric fencing is NOT complicated. However it must be installed correctly to work properly.
ALL ELECTRIC FENCES CONSIST OF THREE EQUALLY IMPORTANT ITEMS...
- THE FENCE (posts, wires, insulators & gates)
- THE ELECTRONICS (fence charger, insulated cable & switches)
- THE GROUND SYSTEM (ground rods, clamps & wiring)
1
STEP ONE: Fence Type
DECIDE WHETHER YOU WANT TO BUILD A TEMPORARY OR PERMANENT ELECTRIC FENCE
TEMPORARY ELECTRIC FENCES
Temporary electric fences are used to control animals inside a permanent fence, usually consisting of one or two wires attached to plastic or metal rod posts. They are easy to install, move, and take down.
PERMANENT ELECTRIC FENCES
Permanent electric fences are used to fence animals inside a property, fence out predators, and separate breeding animals. A permanent fence usually consists of multiple wires attached to steel “T” posts or wood posts.
- Most people use a combination of permanent and temporary fencing to control animals.
- Another option is to add electric fence wires to an existing non-electric fence. Attach one or more “hot” wires to existing fence posts or fence wires to keep animals away from the fence.
2
STEP TWO: MATERIALS
SELECT THE MATERIALS
The type of animals to be controlled will determine material selection.
ENERGIZERS
Buy the most powerful fence charger (energizer) you can afford. “Miles of Fence” means nothing, keeping animals under control is your goal. Buy a Five-O-Lite or digital voltmeter specifically designed for electric fence to check voltage on your fence regularly.
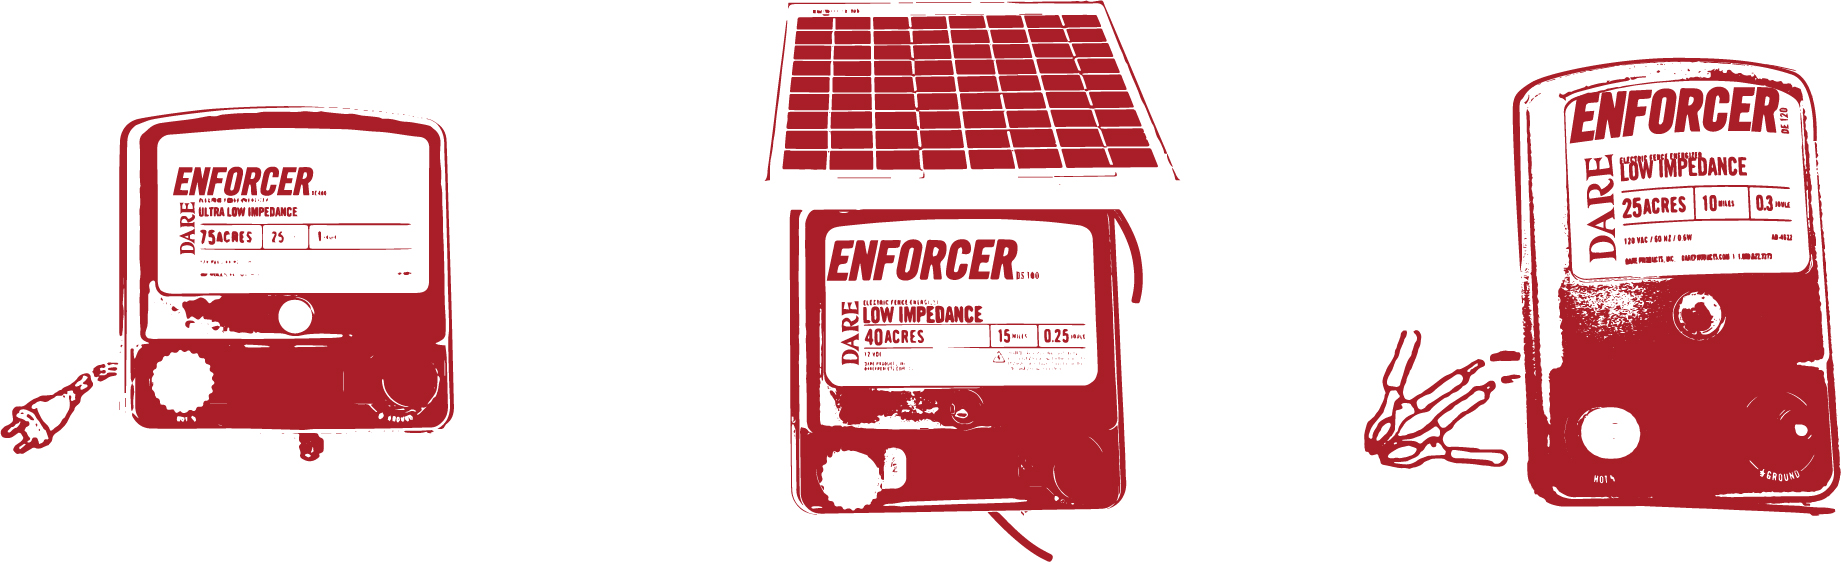
There are three types of fence chargers...
- 110-VOLT PLUG-IN: Most power for the money, often rated in “joules”-the more the better. BEST Value.
- 6-12 VOLT BATTERY-POWERED: Less power for the money, good for remote areas. SECOND BEST Value.
- SOLAR-POWERED: Least power for the money, good for short fences in remote areas. (Can be used on longer single wire clean fences.) Most convenient, however, not the best value.
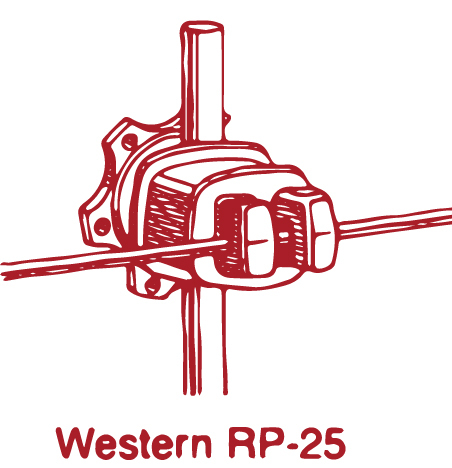
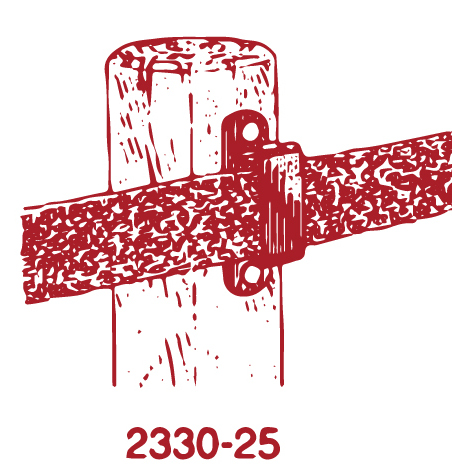
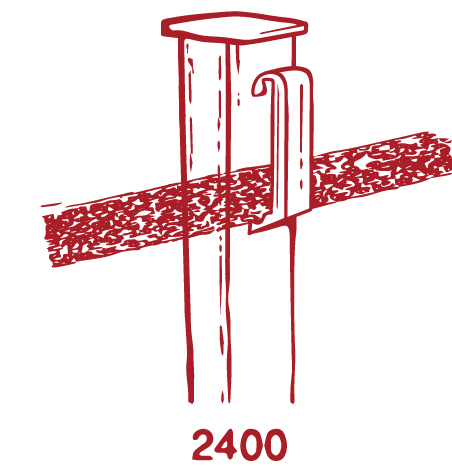
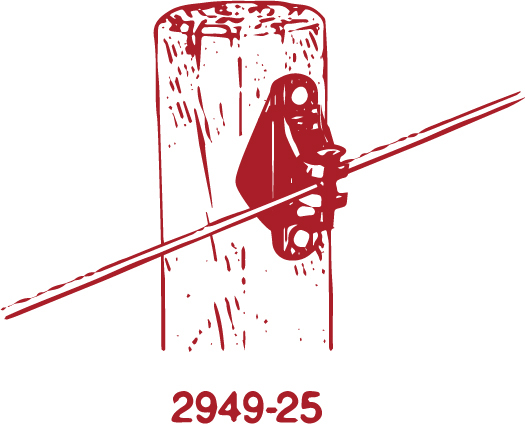
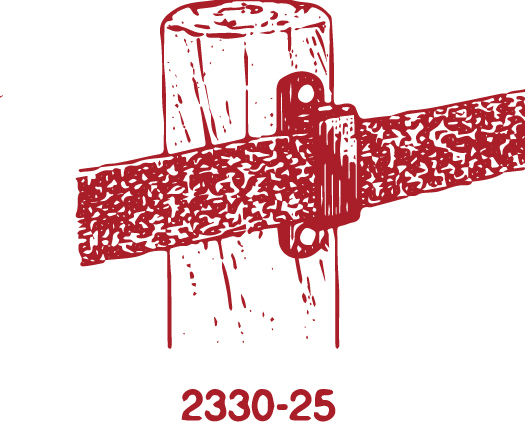
Always use high-quality insulators. DARE brand insulators and energizers are designed for ease of installation and durability. Use the appropriate designed insulator, specific to the fencing material being electrified. Cheap insulators and incorrect installation are a major cause of electric fence problems. Use insulated cable designed for electric fencing (see DARE catalog or visit www.Dareproducts.com/products).
TEMPORARY ELECTRIC FENCES

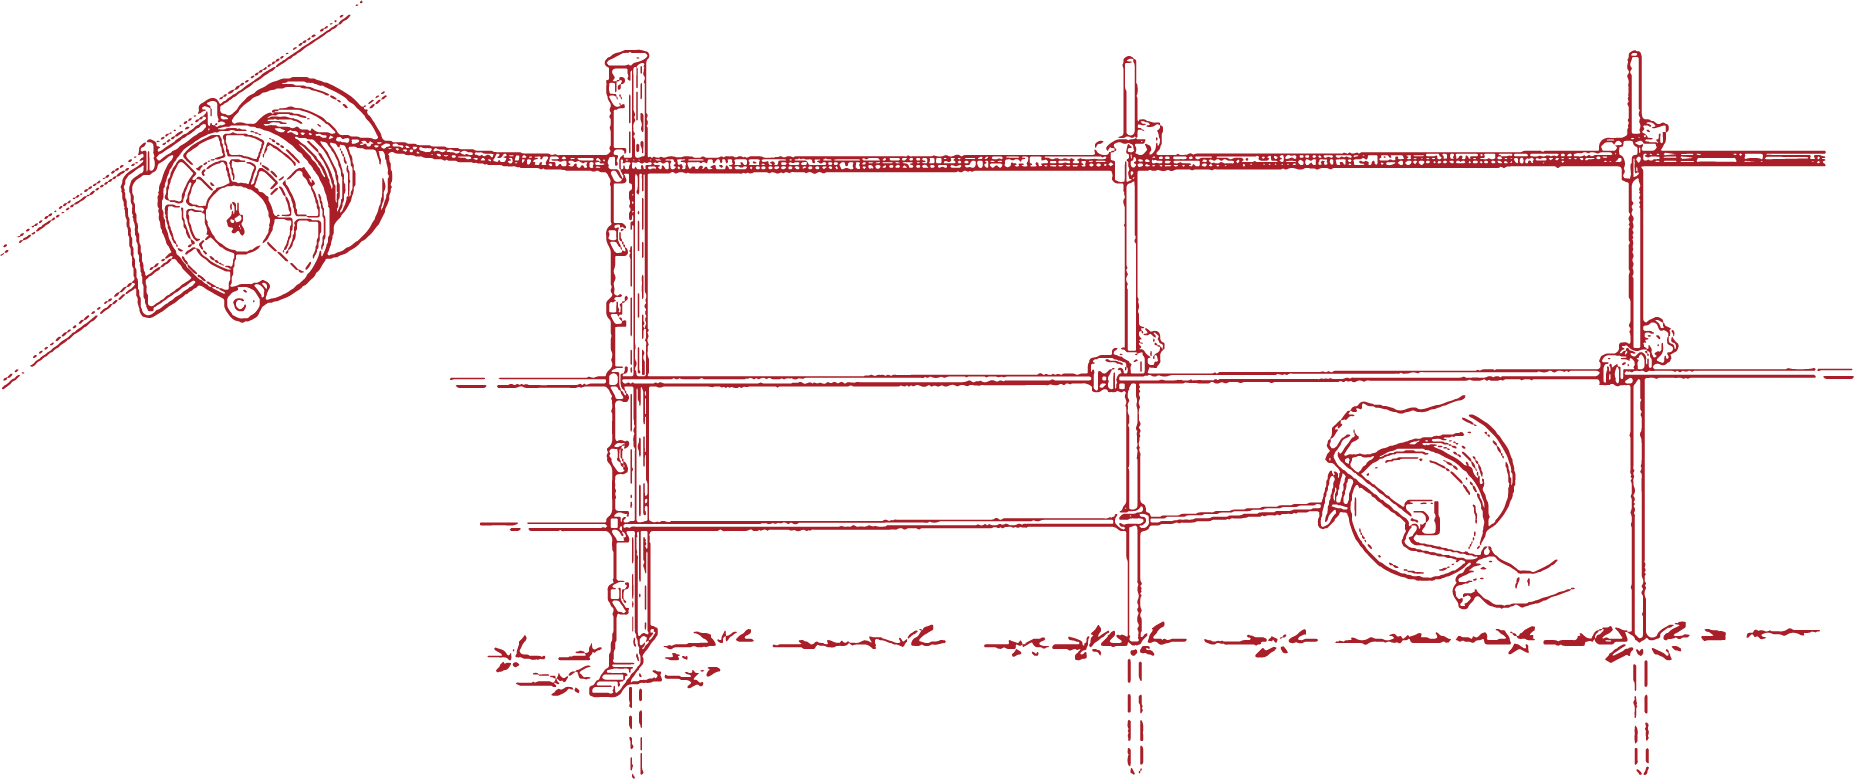
- Most temporary fences use small gauge (14 to 17 gauge) steel wire, or polywire or polytape. Metal rod or plastic posts are usually spaced 20 feet to 30 feet apart. Making the fence visible is important but not necessary. If using steel wire, flag the fence with colorful tape if desired.*
PERMANENT ELECTRIC FENCES
- Most permanent electric fences use high-tensile smooth wire (12.5 gauge), or heavy-duty polytape or polyrope for horses primarily. Posts are spaced according to terrain and size of fenced area (see DARE High Tensile Fence System & DARE Equine Fencing brochures)
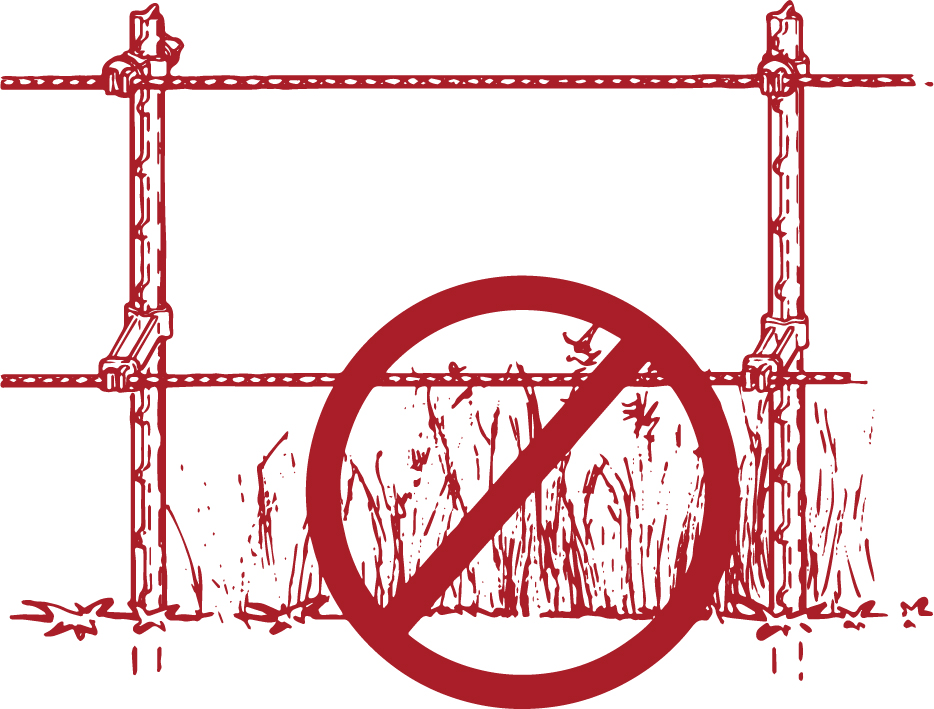
NOTE: Electric Fences should to be kept clean of vegetation. No matter how powerful your fence charger claims to be, weeds and grass touching the wires will reduce voltage and can make your fence less effective.
* Electric Fencing is a pychological barrier—animals remember and will stay away for the most part.
3
STEP THREE: INSTALLATION
INSTALL THE FENCE & GROUND SYSTEM
Install the fence, fence charger and ground system.
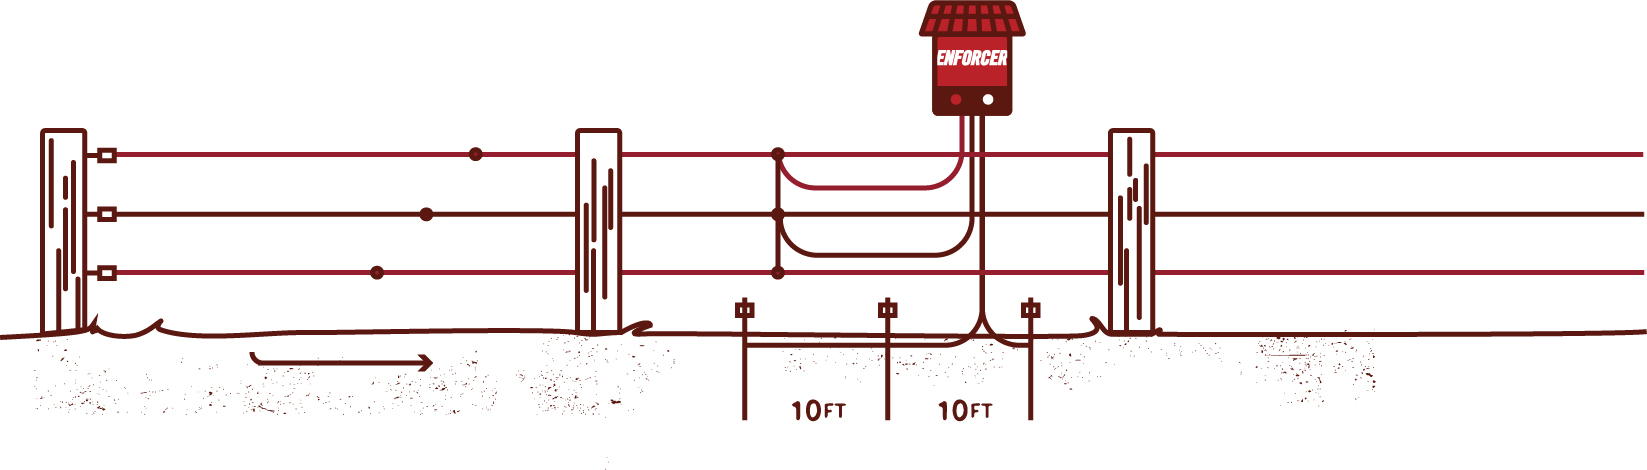
- Install an effective ground system with three six foot long ground rods, spaced ten feet apart.* Use ground rod clamps and galvanized wire or insulated cable to connect ground rods to each other and to the fence charger. Without a good ground system your animals won’t get shocked when they touch the fence. * RULE OF THUMB: Use one 6 - 8’ ground rod per jouleoutput of energy.
- Install the fence charger (energizer) under cover, several feet above the ground. Install solar-powered fence chargers in an open area facing south (northern hemisphere). Use insulated cable, rated up to 20,000 volts, to connect the fence charger to the fence. Install cut-off switches to isolate sections of your electric fence if desired.
- Test your ground system
4
STEP FOUR: TESTING
TEST THE FENCE
Before connecting the fence charger to the fence and ground system, turn it on and check the voltage with your digital voltmeter. It should read 5,000 volts +. Now connect the fence and ground system and check the voltage again. If the voltage drops more than 2,000 volts then you have a problem in the fence or your fence charger isn’t powerful enough. Models DE 20, DE 60 and DE 80 will register only 2,000+ on a clean fence.
Check the fencing problem solver to resolve most trouble areas of your electric fence.
Check your fence at the farthest point from the fence charger. Touch probe on top of the tester to an electrified wire and touch the other lead to the ground. This will tell you how much voltage, which is the speed the energy is being delivered to your animals. A minimum of 2,000 – 3,000 volts is necessary to containg most animals. A properly constructed electric fence will have 5,000 to 8,000 volts, depending on your Fence Charger. That might sound like a lot but electric fences emit an extremely short electric pulse that is harmless for animals and people of all ages, but will get your attention.
| Animal | Minimum recomended voltage on fence line |
|---|---|
| Horses | 2,000 - 3,000 volts |
| Cows | 2,000 - 3,000 volts |
| Bulls | 3,000 - 4,000 volts |
| Sheep/Goats | 4,000 - 5,000 volts |
| Nuisance Pets | 1,000 - 2,000 volts |
| Pigs | 2,000 - 3,000 volts |
| Wolves/Predators | 4,000 - 5,000 volts |
| Bison/Deer | 4,000 - 5,000 volts |
| Pets | 700 - 1,000 volts |
NOTE: An electric fence requires regular checks to make sure it is working properly. Check the voltage at least once a day if possible. Walk the fence on a regular basis looking for broken insulators, loose connections and other potential problems.
GROUNDING SYSTEM TEST
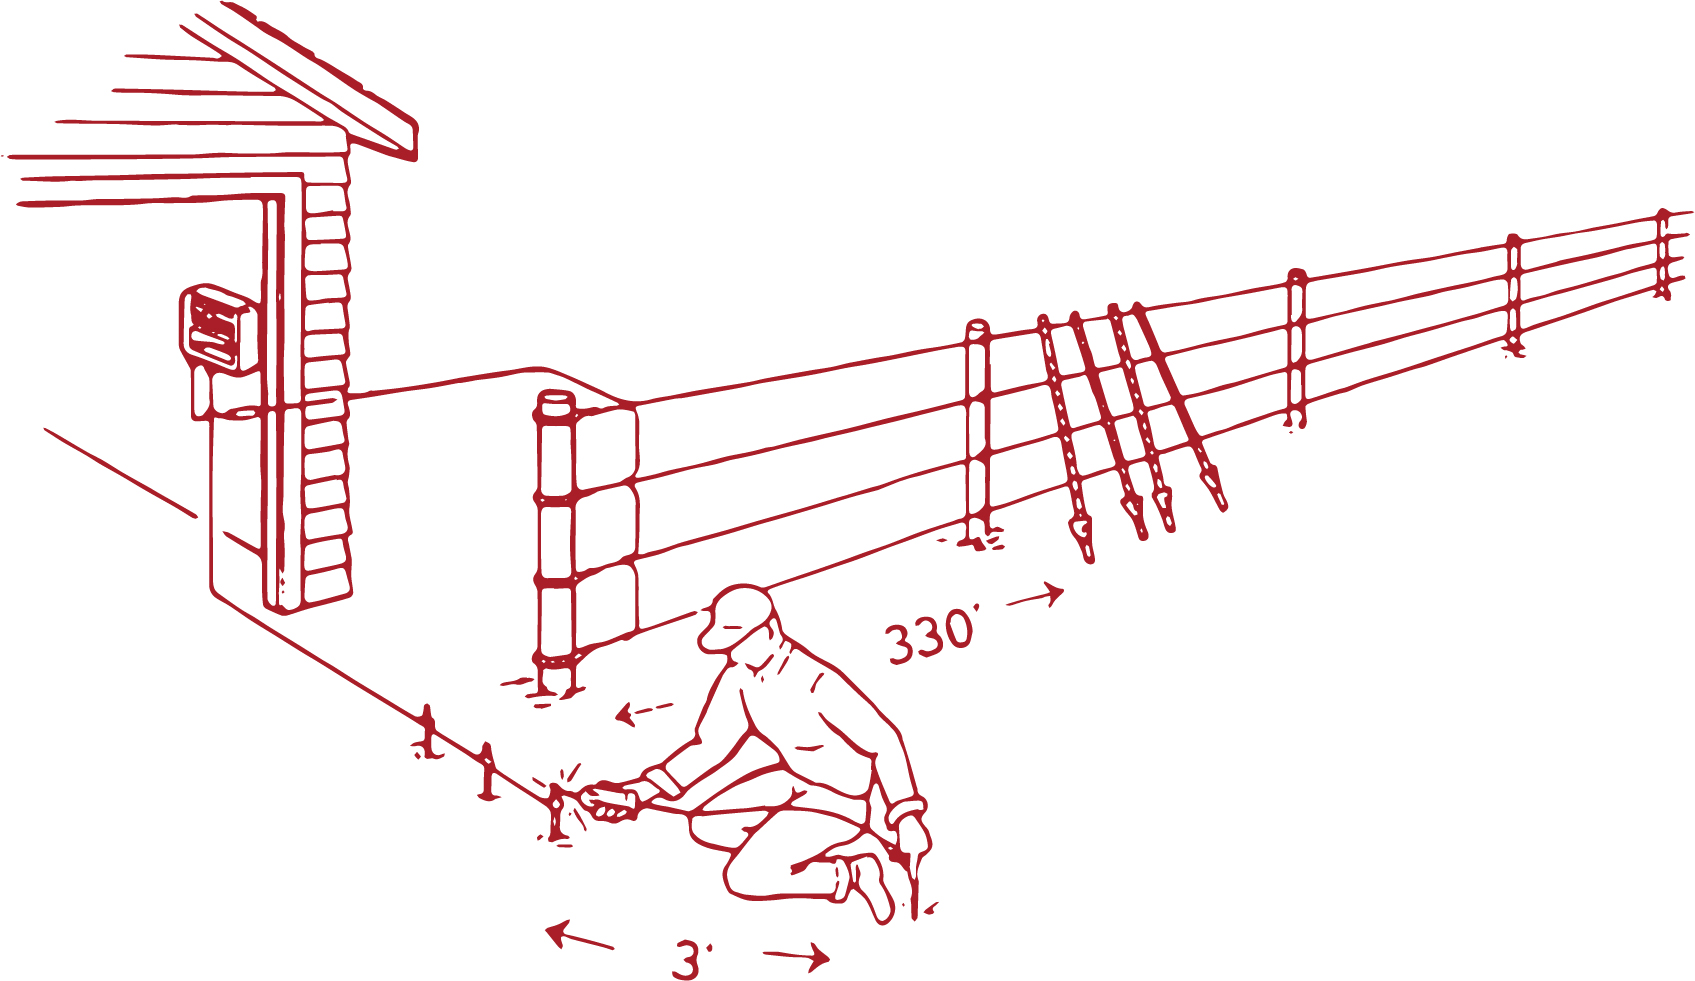
- Create a dead short on the fence line, preferably 300ft. from the ground rods, or as far as possible if the fence is shorter than that. Lean steel posts on a hot wire as shown to short out your fence.
- Use a Dare #2411 Digital Voltmeter or similar electric fence meter. Place the meter probe on the ground wire or rods. Extend the meter lead wire as far away as possible, attach to a wire probe and insert probe into the soil. (Wire probe supplied with Dare #2411).
- If the voltage reading exceeds 300 volts, the grounding system is inadequate and more ground rods should be added. Add rods and recheck until voltage reads 300 or less. Generally you will need one ground rod for each Joule of output from your energizer.
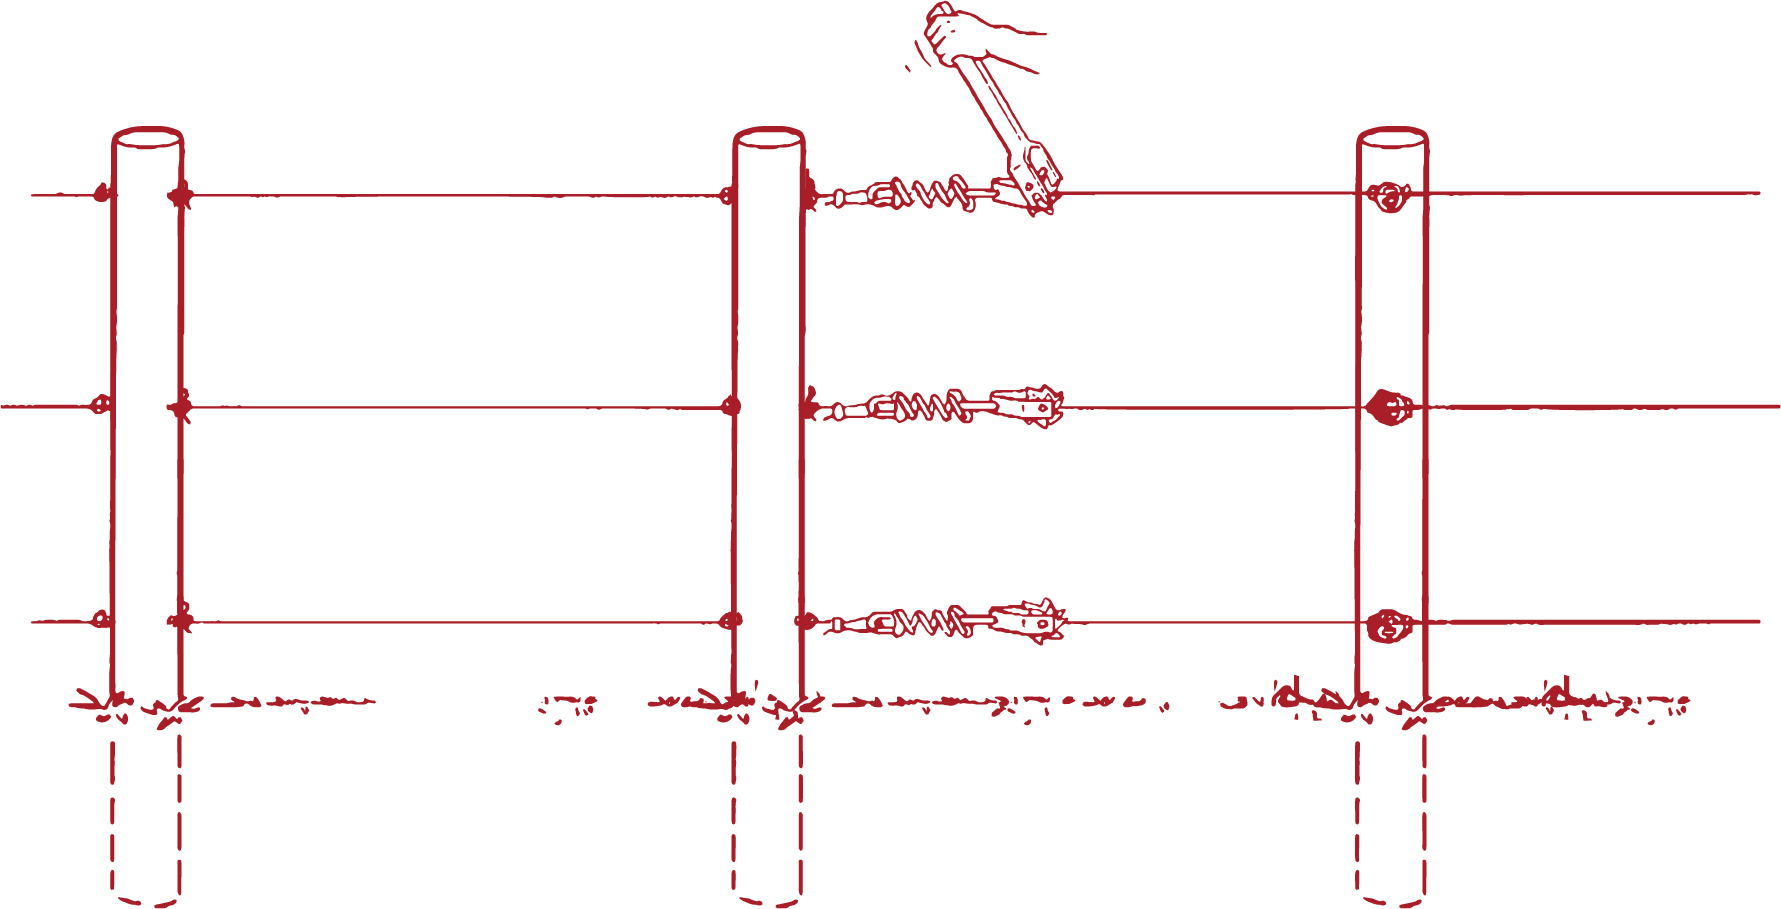
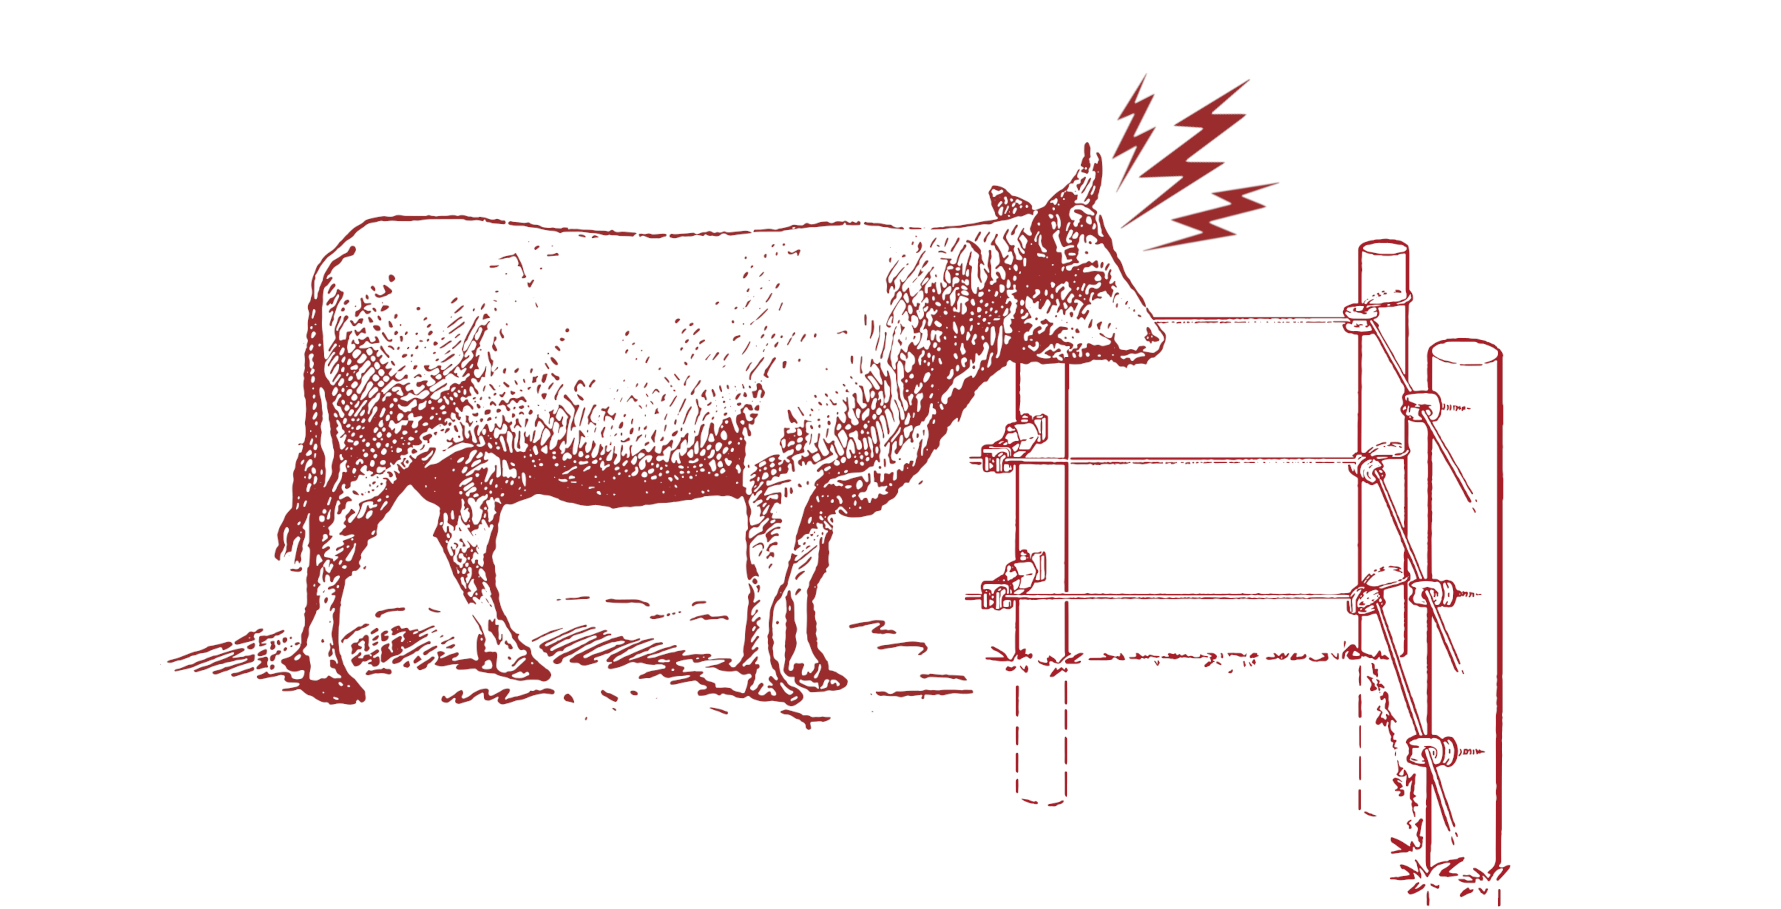
Install posts and wires and gates. Space wires according to the type of animal you want to control. * RULE OF THUMB: Hot wires should touch the animals at the chest and/or nose and the back of the neck on grazing animals.
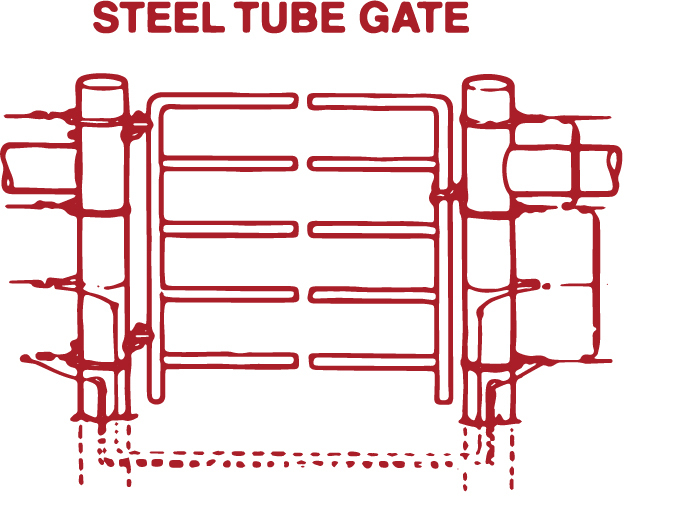
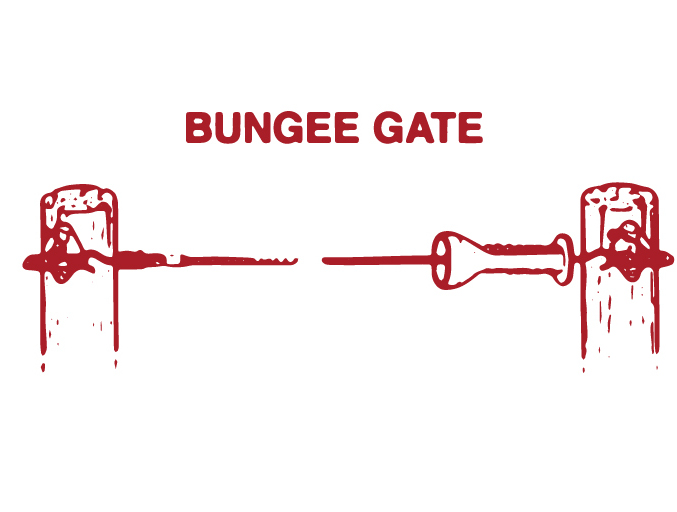
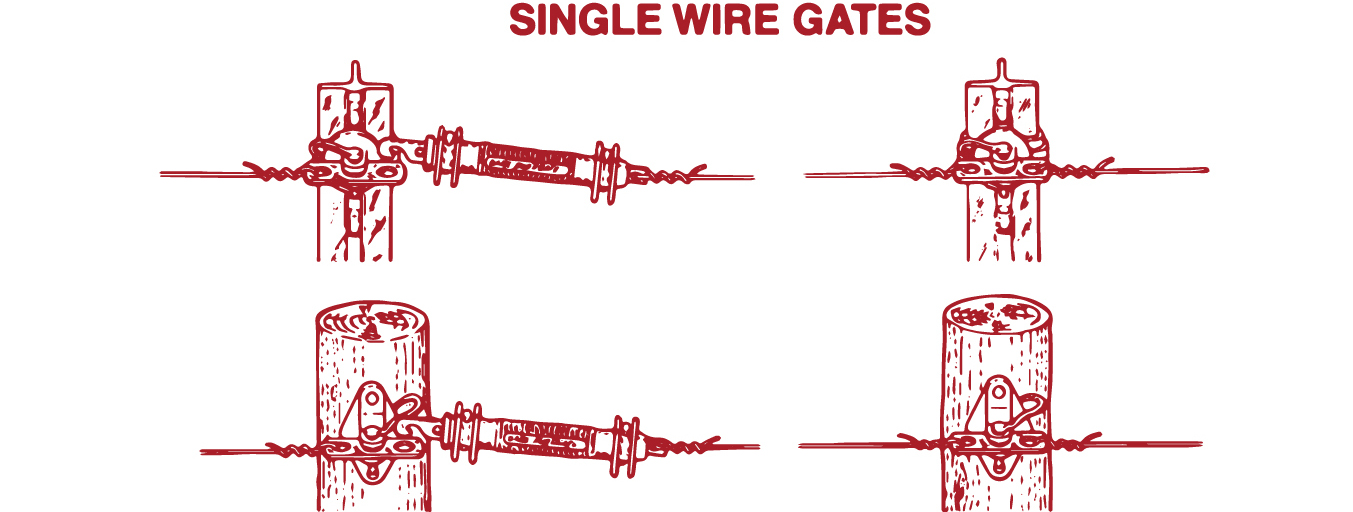
Gates require extra care to run voltage from one side of the gate to the other. We recommend running insulated cable in plastic pipe under the gate (make sure to seal the ends of the pipe to keep out water.) Connect all electrified wires together at gates and corners to increase voltage the length of the fence.
NOTE: Connect the fence charger so it charges the fence from the middle, not the end, if possible.
5
STEP FIVE: INTRODUCE ANIMALS
INTRODUCE ANIMALS TO THE FENCE
Electric fence works because animals are afraid to touch it, but they must learn that touching the fence will shock them. Put animals behind a new electric fence during daylight hours, giving them a chance to see it. If necessary put some hay or grain under the fence to speed up the “learning” process. It can take up to three days to train animals to your fence.
NOTE: It's best not to turn off an electric fence if animals are behind it.
KEEPING ANIMALS OUT
Electric fences can be used to keep out dogs, predators, deer, and other pests. Fencing animals out requires more wires, posts as well as a more powerful fence charger for higher voltage (5,000 volts minimum). Pest/predator fences must be checked constantly. For best results keep the fence completely clear of vegetation for several feet on both sides of the fence.